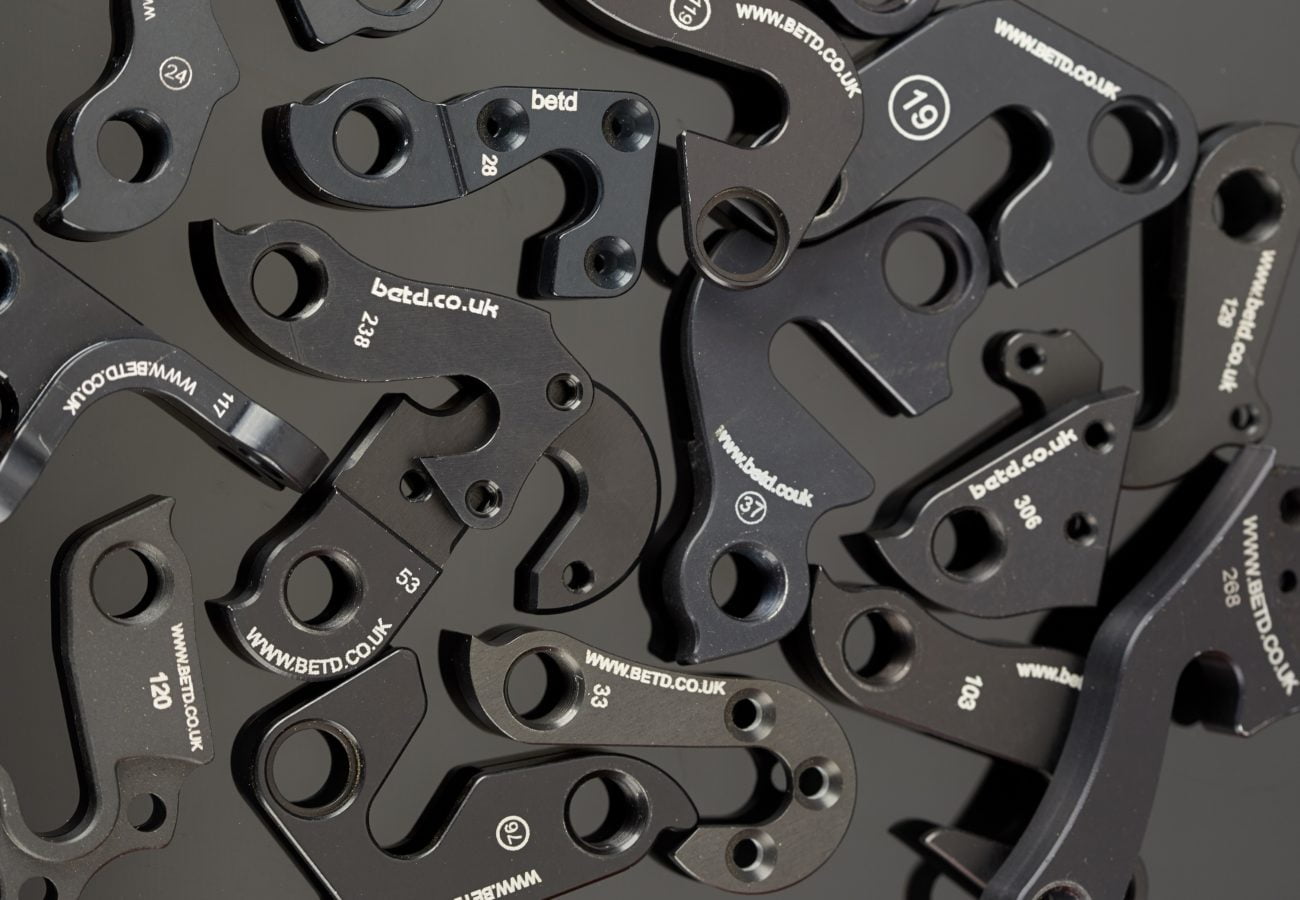
Gear hangers are one of the most often replaced bicycle components because of their nature – they are designed to break under duress to prevent more costly and sever damage being done to the other parts of the bike. Sometimes, when we fall off a bike or damage a gear hanger, they do not immediately break, but can instead bend out of optimum alignment. While this is more difficult to spot, it is easy to rectify and should be re-aligned as soon as possible. Fail to set up the hanger in an ideal position and you could experience shifting issues, interrupted riding and eventual breaking of the part!
Tools of the Trade
In order to properly align either a new gear hanger or one that has slipped, you’ll need very few tools. These include hex wrenches, park tool DAG-2 OR DAG 2.2 and an M10 x 1.0mm the clean the threads but that is all. The necessary equipment should ideally be taken with you when out on rides, so that you can complete necessary roadside assistance, should you need too, allowing you to get back on your bike as soon as possible.
How to Align
To properly align a gear hanger, you should first remove it and insert the DAG tool to tighten the handle, then rotate the arm towards the left side of the rim, or the 9 o’clock position. Next, rotate the tire valve to the 9 o’clock position, using the same point on the rim as a constant reference when checking your gear hanger. Then, begin loosening the sliding gauge knob and moving it to contact the rim, before securing. Slide the gauge bracket towards the hub, then rotate the arm to prevent the gauge from being forced against the rim. Next, rotate the DAG tool and rotate the rim valve 180 degrees to the 3 o’clock position. Finally, slide the indicator towards the rim to the same point near the valve which should result in the gauge barely touching the rim and an horizontally aligned hanger.
For more information or to purchase gear hangers for your bike, shop here.