Fitting a Road Bike Crankset.
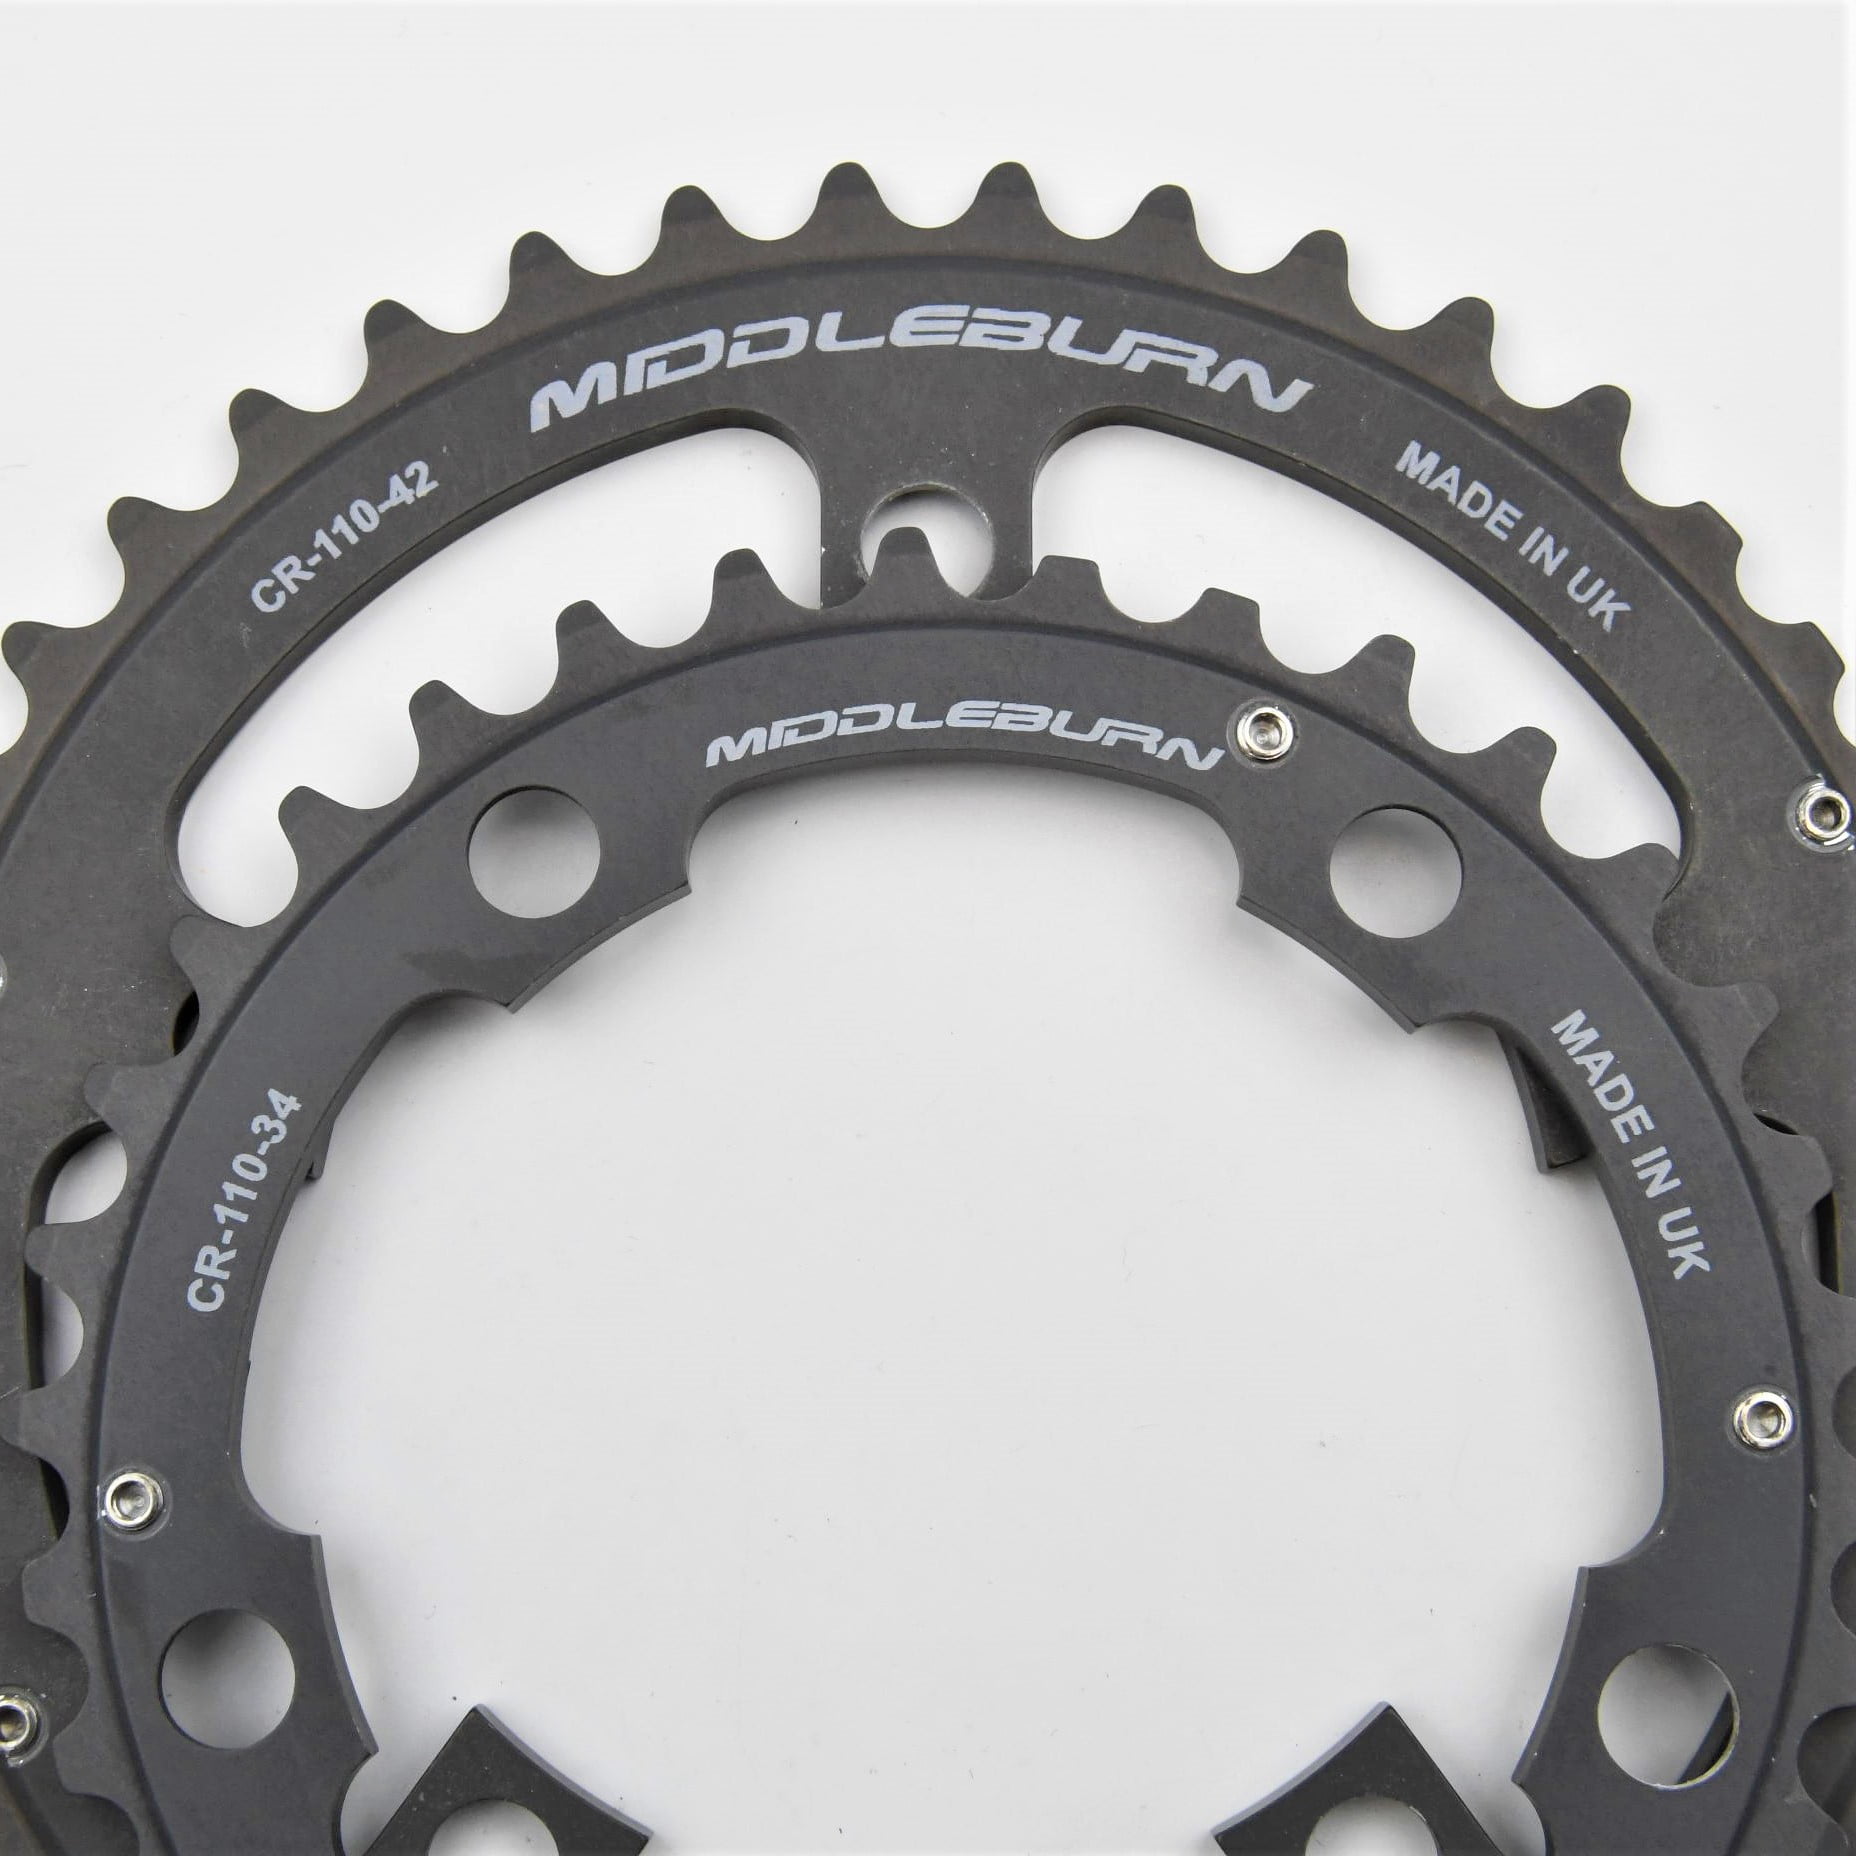
By road bike crankset, we mean the left and right crank arms, bottom bracket axle, spider and chain rings. Most modern cranksets like Middleburn X Type or Shimano HT2 for instance have the axle permanently attached to one of the cranks but there are still three-piece models where you have non-drive side and drive side arms plus the axle is built into the bottom bracket such as ISIS or Square Taper.
Starting from the point where the crankset is removed, give everything a good clean. Remove grease from all threads and components, applying new grease to them once they are free of debris. This is especially important for areas where the parts are in contact with each other such as the bearing and axle interface as this is where the most friction will occur, causing damage without adequate lubrication.
Following the manufacturers instructions offer up the crank arm with the axle attached into the bottom bracket and sliding it through the bearing cups in both sides of the frame to expose the splined interface on the opposite side of the bottom bracket. For Middleburn it is the non-drive side being fitted first as this arm has the axle attached to it.
Next add the crank arm to the drive side spline interface, placing the end of the axle carefully into the splines, ensuring the arms are aligned correctly and then fully tighten the captive bolt into the axle to the manufacturers required torque settings. Then undo the bearing preload collar and pinch it up gently to the non-drive side bearing cup and tighten the M3 Hex Bolt lightly to ensure the collar remains in the same place and hey presto your new cranks are fitted.

